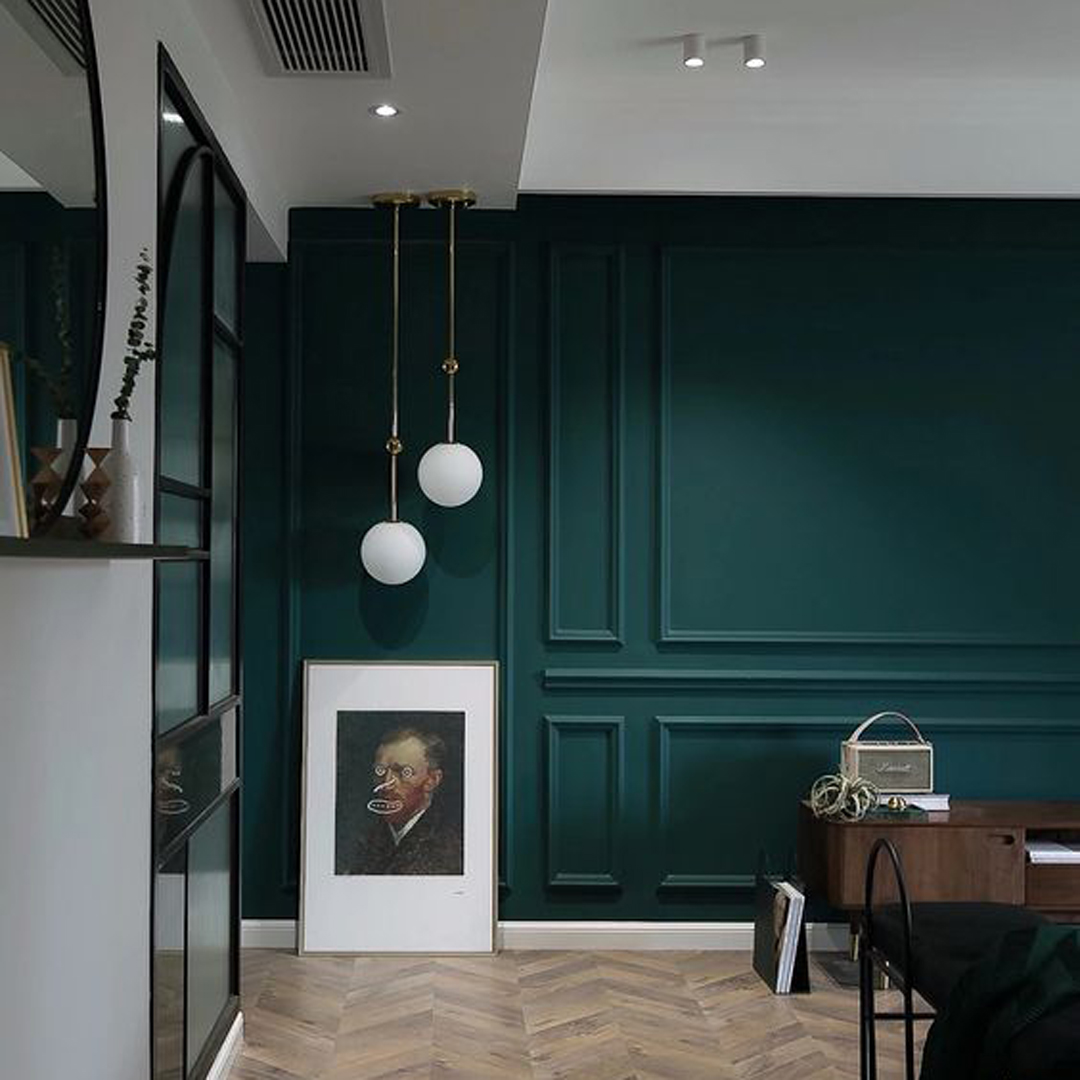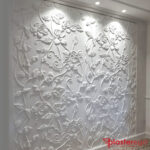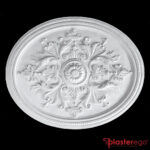


Many people are interested in plaster mouldings for walls. In fact, they are a decorative element that can add a touch of elegance to a room without costing a fortune. Perfect for a contemporary classic style, plaster profiles and mouldings come in designs and styles that also suit more modern and minimalist settings.
Below, we explain in 4 simple steps how to apply plaster mouldings in the best way and achieve a perfect result!
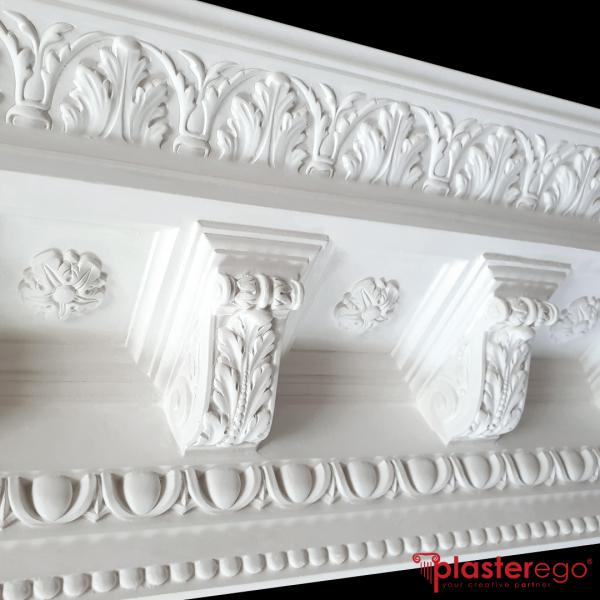
1- Everything you need to know about plaster mouldings
Material: plaster!
Compared with other materials, plaster profiles are more rigid and robust and the individual plaster pieces can be filled together, completely eliminating unsightly joints.
In shops and public-facing venues subject to strict fire regulations, installing plaster mouldings and decorations is sometimes even the only solution, since plaster is a completely fireproof material.
The 3 main types of plaster mouldings for walls
Plaster mouldings can be divided into “families” according to their use and function. The main ones are: cornice mouldings, mouldings for boiserie and wall frames, mouldings for LED and indirect lighting.
– Plaster cornice mouldings: these are mouldings applied at the junction between wall and ceiling and are used to soften the transition around the perimeter
– Plaster mouldings for wall frames are used to create ceiling frames and wall boiserie
– Plaster mouldings for LED and indirect lighting have profiles specifically designed to contain and conceal lighting systems and LED strips. These plaster profiles are perfect for projecting soft, diffused light onto a surface and/or throughout a room.
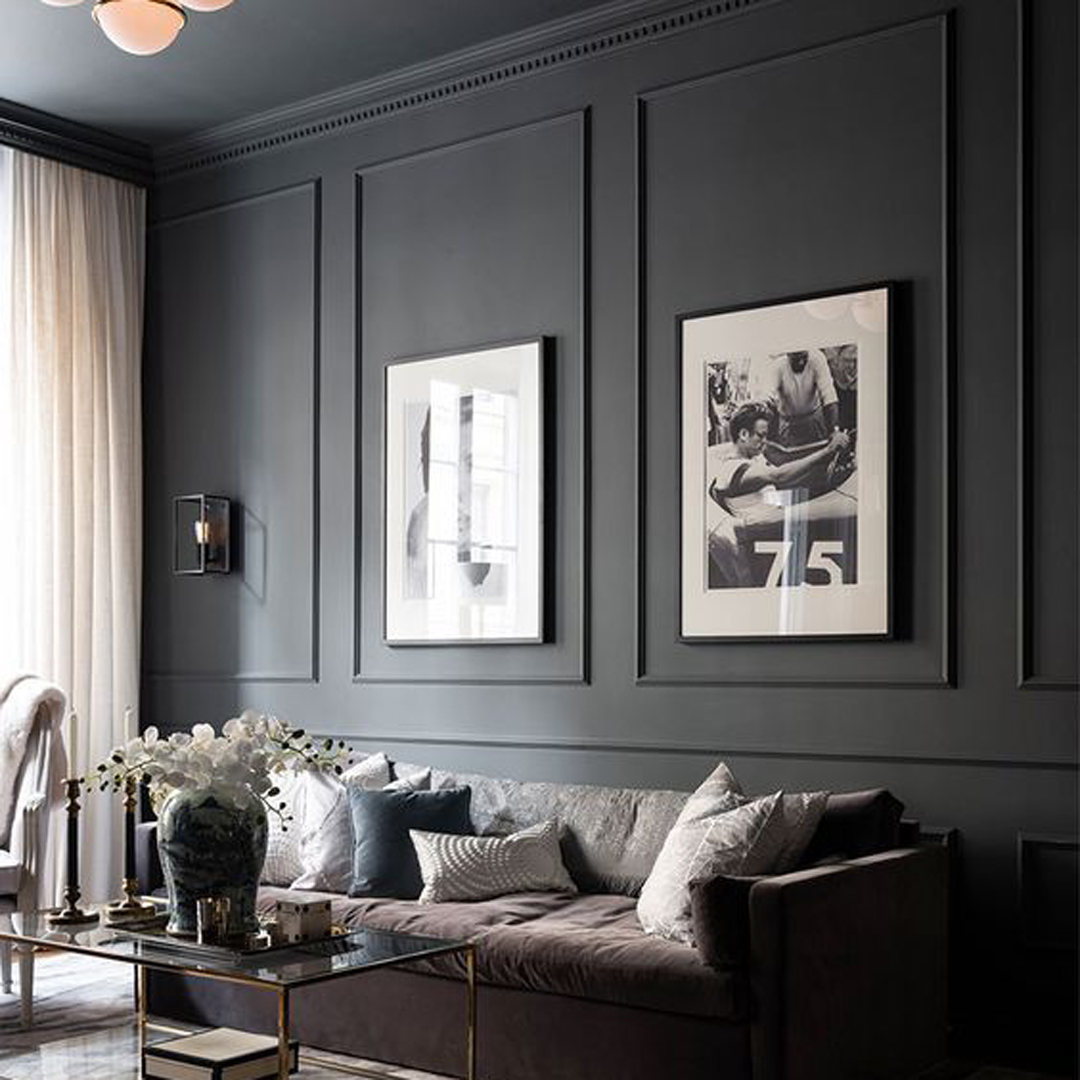
Sizes, styles and decorations of plaster mouldings
The range available in our plaster moulding gallery is very broad, from classic mouldings and timeless designs to modern plaster mouldings. So which should you choose?
The choice of moulding size and style depends greatly on the kind of space you want to create and on the furnishings. In general, simple, smooth plaster mouldings work well in any setting.
If, on the other hand, you choose a decorative style, it is advisable to keep that chosen style consistent across all the rooms where the mouldings are installed.
And curved walls?
If you rely on professionals such as us at Plasterego, there is a solution for this requirement too. In fact, we can create dedicated plaster mouldings for curved walls, made with custom bending radii to suit your needs!
2- The secret to planning a harmonious moulding layout: symmetry!
Beyond the formal rules established over time on how to install plaster mouldings, the “secret” is simple: respect symmetry. The arrangement of plaster mouldings, the spacing between frames and boiserie, and any interruptions should ideally all follow the rule of symmetry and this will ensure a pleasing and harmonious result.
How to arrange plaster mouldings
With cornice mouldings it is simple: they are installed around the entire perimeter of the room. But what about wall frames and boiserie?
Easy: follow the rule of symmetry!
Within a single wall, the arrangement and design of the frames should be symmetrical, whether you decide to create 2, 3 or more frames.
Is there another wall in the room identical to the one you have just completed? Use the same layout there as well. And do the same in every room where you install the mouldings.

Keep the spacing consistent
The distance of the mouldings from the corner of the wall, the distance between individual frames, and the distance between the frame and the cornice: keep this spacing consistent and position the mouldings according to this constant measurement to achieve a professional look.
Keep the spacing consistent between all rooms as well, and plan your layout carefully before you start installing the mouldings!
Avoid interruptions
Try to avoid electrical sockets and other obstacles. Make sure the plaster mouldings are not interrupted by anything. When arranging the mouldings, also take into account windows, doors and air-distribution vents, if present. Position the mouldings while considering all the elements that could interrupt the continuity of the installation.
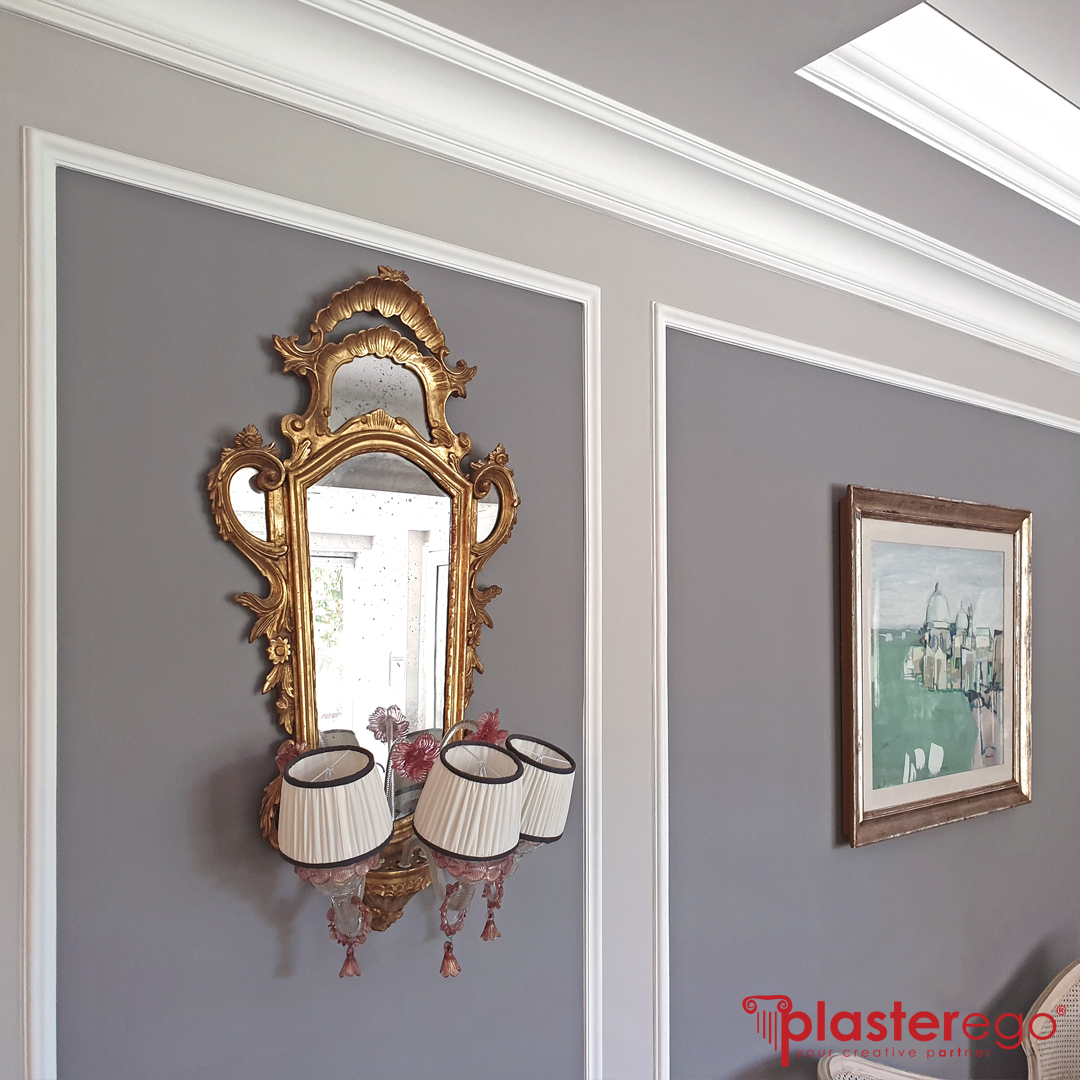
Pay attention to squareness!
If you decide to do it yourself, pay close attention to alignment. There is nothing worse than crooked, misaligned mouldings and frames.
Take this advice: if you are struggling, use masking tape to outline the frames on your walls so you can immediately see how the mouldings would look there. A practical, simple and clever method!
3- How to install plaster mouldings
Marking out and preparing for installation
Before preparing the adhesive and starting the installation, it is useful to mark the position of each moulding. Using a pencil or chalk line, mark the footprint of the mouldings on the wall and ceiling. A simple trick to make plaster moulding installation easier is to use a hammer to fix small nails along the line marked on the wall and use them as supports on which to rest the mouldings during installation, helping to keep them straight.
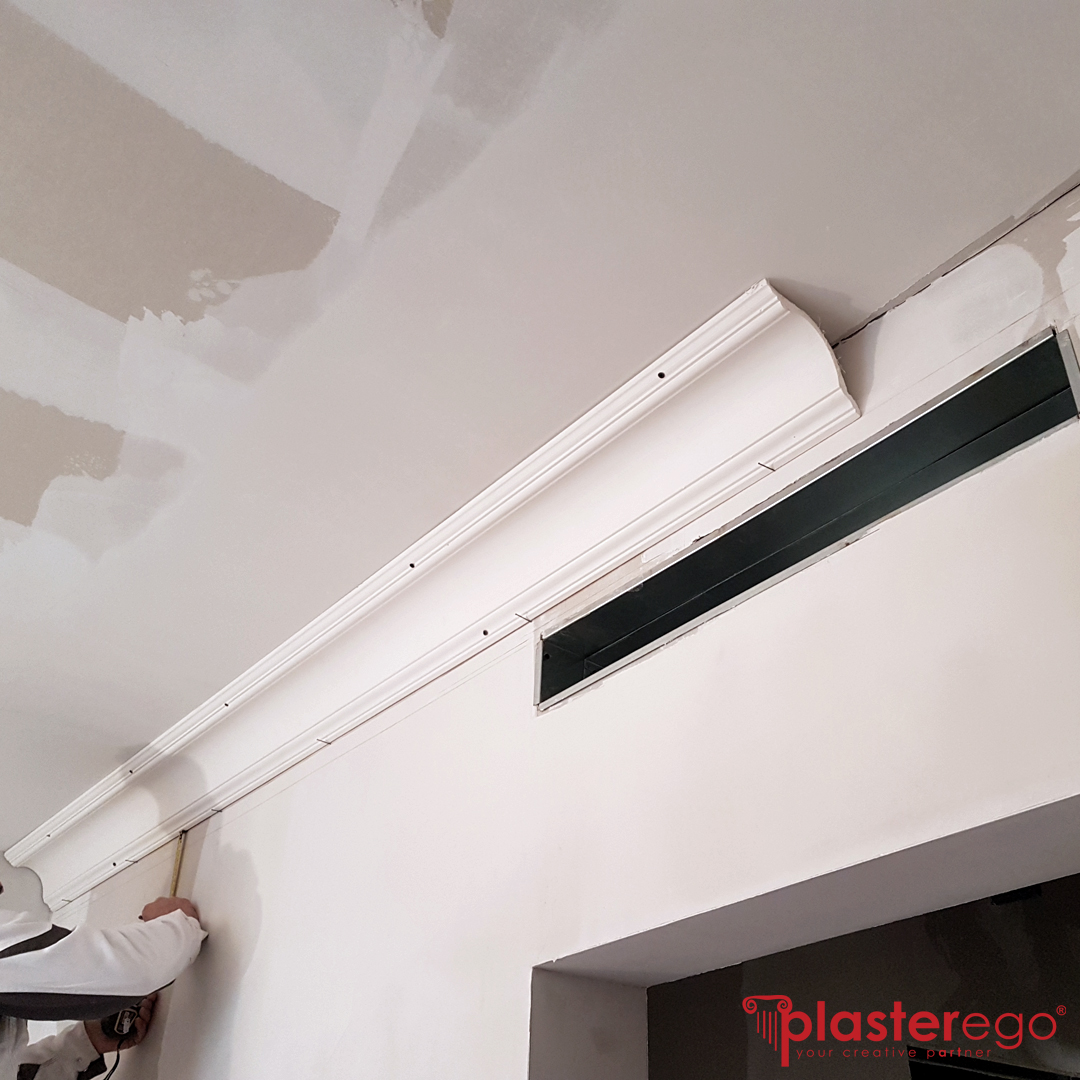
Cutting plaster mouldings
On many occasions, before gluing the mouldings, it will be necessary to make cuts to adapt the length of the plaster mouldings to the dimensions of the surfaces or at corners. In these cases, you can make the cut using a simple hand saw or a circular saw.
For making cuts and mitres at corners, simple and inexpensive mitre boxes are also available for hand saws, allowing even less experienced users to achieve a perfect result!
Gluing and filling plaster mouldings
Plaster mouldings are applied directly to the skim-coated wall using a suitable adhesive. For larger profiles, however, it may also be necessary to use mechanical fixings (e.g. screws and wall plugs).
The plaster mouldings should be positioned in the marked area with the adhesive, pressed firmly against the surface and adjusted with small movements to the right and left. Any excess adhesive should be removed from the edges of the mouldings using a spatula and a brush dampened with water.
Once the plaster mouldings have been glued in place, they can be finished and filled, using simple alabaster plaster and a small spatula. In this way, all joints between the mouldings can be sealed to achieve a smooth, continuous finish without interruptions.
4- How to paint plaster mouldings
Once the fixing adhesive has dried, you can paint the plaster mouldings with a bonding primer and a water-based paint.
Compared with the colour of the walls, plaster mouldings can be painted in the same tone or in a contrasting colour, with completely different visual results. Painting the plaster mouldings can be used not only to highlight the contrast between adjacent surfaces, but also to mark the transition between two materials, for example between plaster boiserie and the wall plaster.
Currently, the most popular solution is to use mouldings in the same colour as the background wall. They look more elegant and refined and give a timeless appearance.